
At Paragon Bridge Works, we don’t just build bridges—we solve problems. Recently, in San Diego, CA, we faced a challenge that could have derailed a homeowner’s dream. But instead of bowing to bureaucracy or settling for costly overhauls, we delivered a bold, efficient solution that got the job done—faster, smarter, and better.
The Problem: Bureaucracy Blocking Progress
A homeowner in an HOA community purchased a vacant lot and worked tirelessly to build their dream home. Everything was ready. But during the final inspection, the fire department threw a curveball: the private bridge leading to the property wasn’t up to modern code.
Their ruling was clear: no bridge compliance, no occupancy approval.
Initially, replacing the bridge seemed like the only option. But let’s face it—replacing an entire bridge is a bureaucratic nightmare:
Two years of waiting for city permits.
A massive financial burden for the homeowner and the HOA.
That’s the kind of red tape that stifles progress. We weren’t about to let that happen.
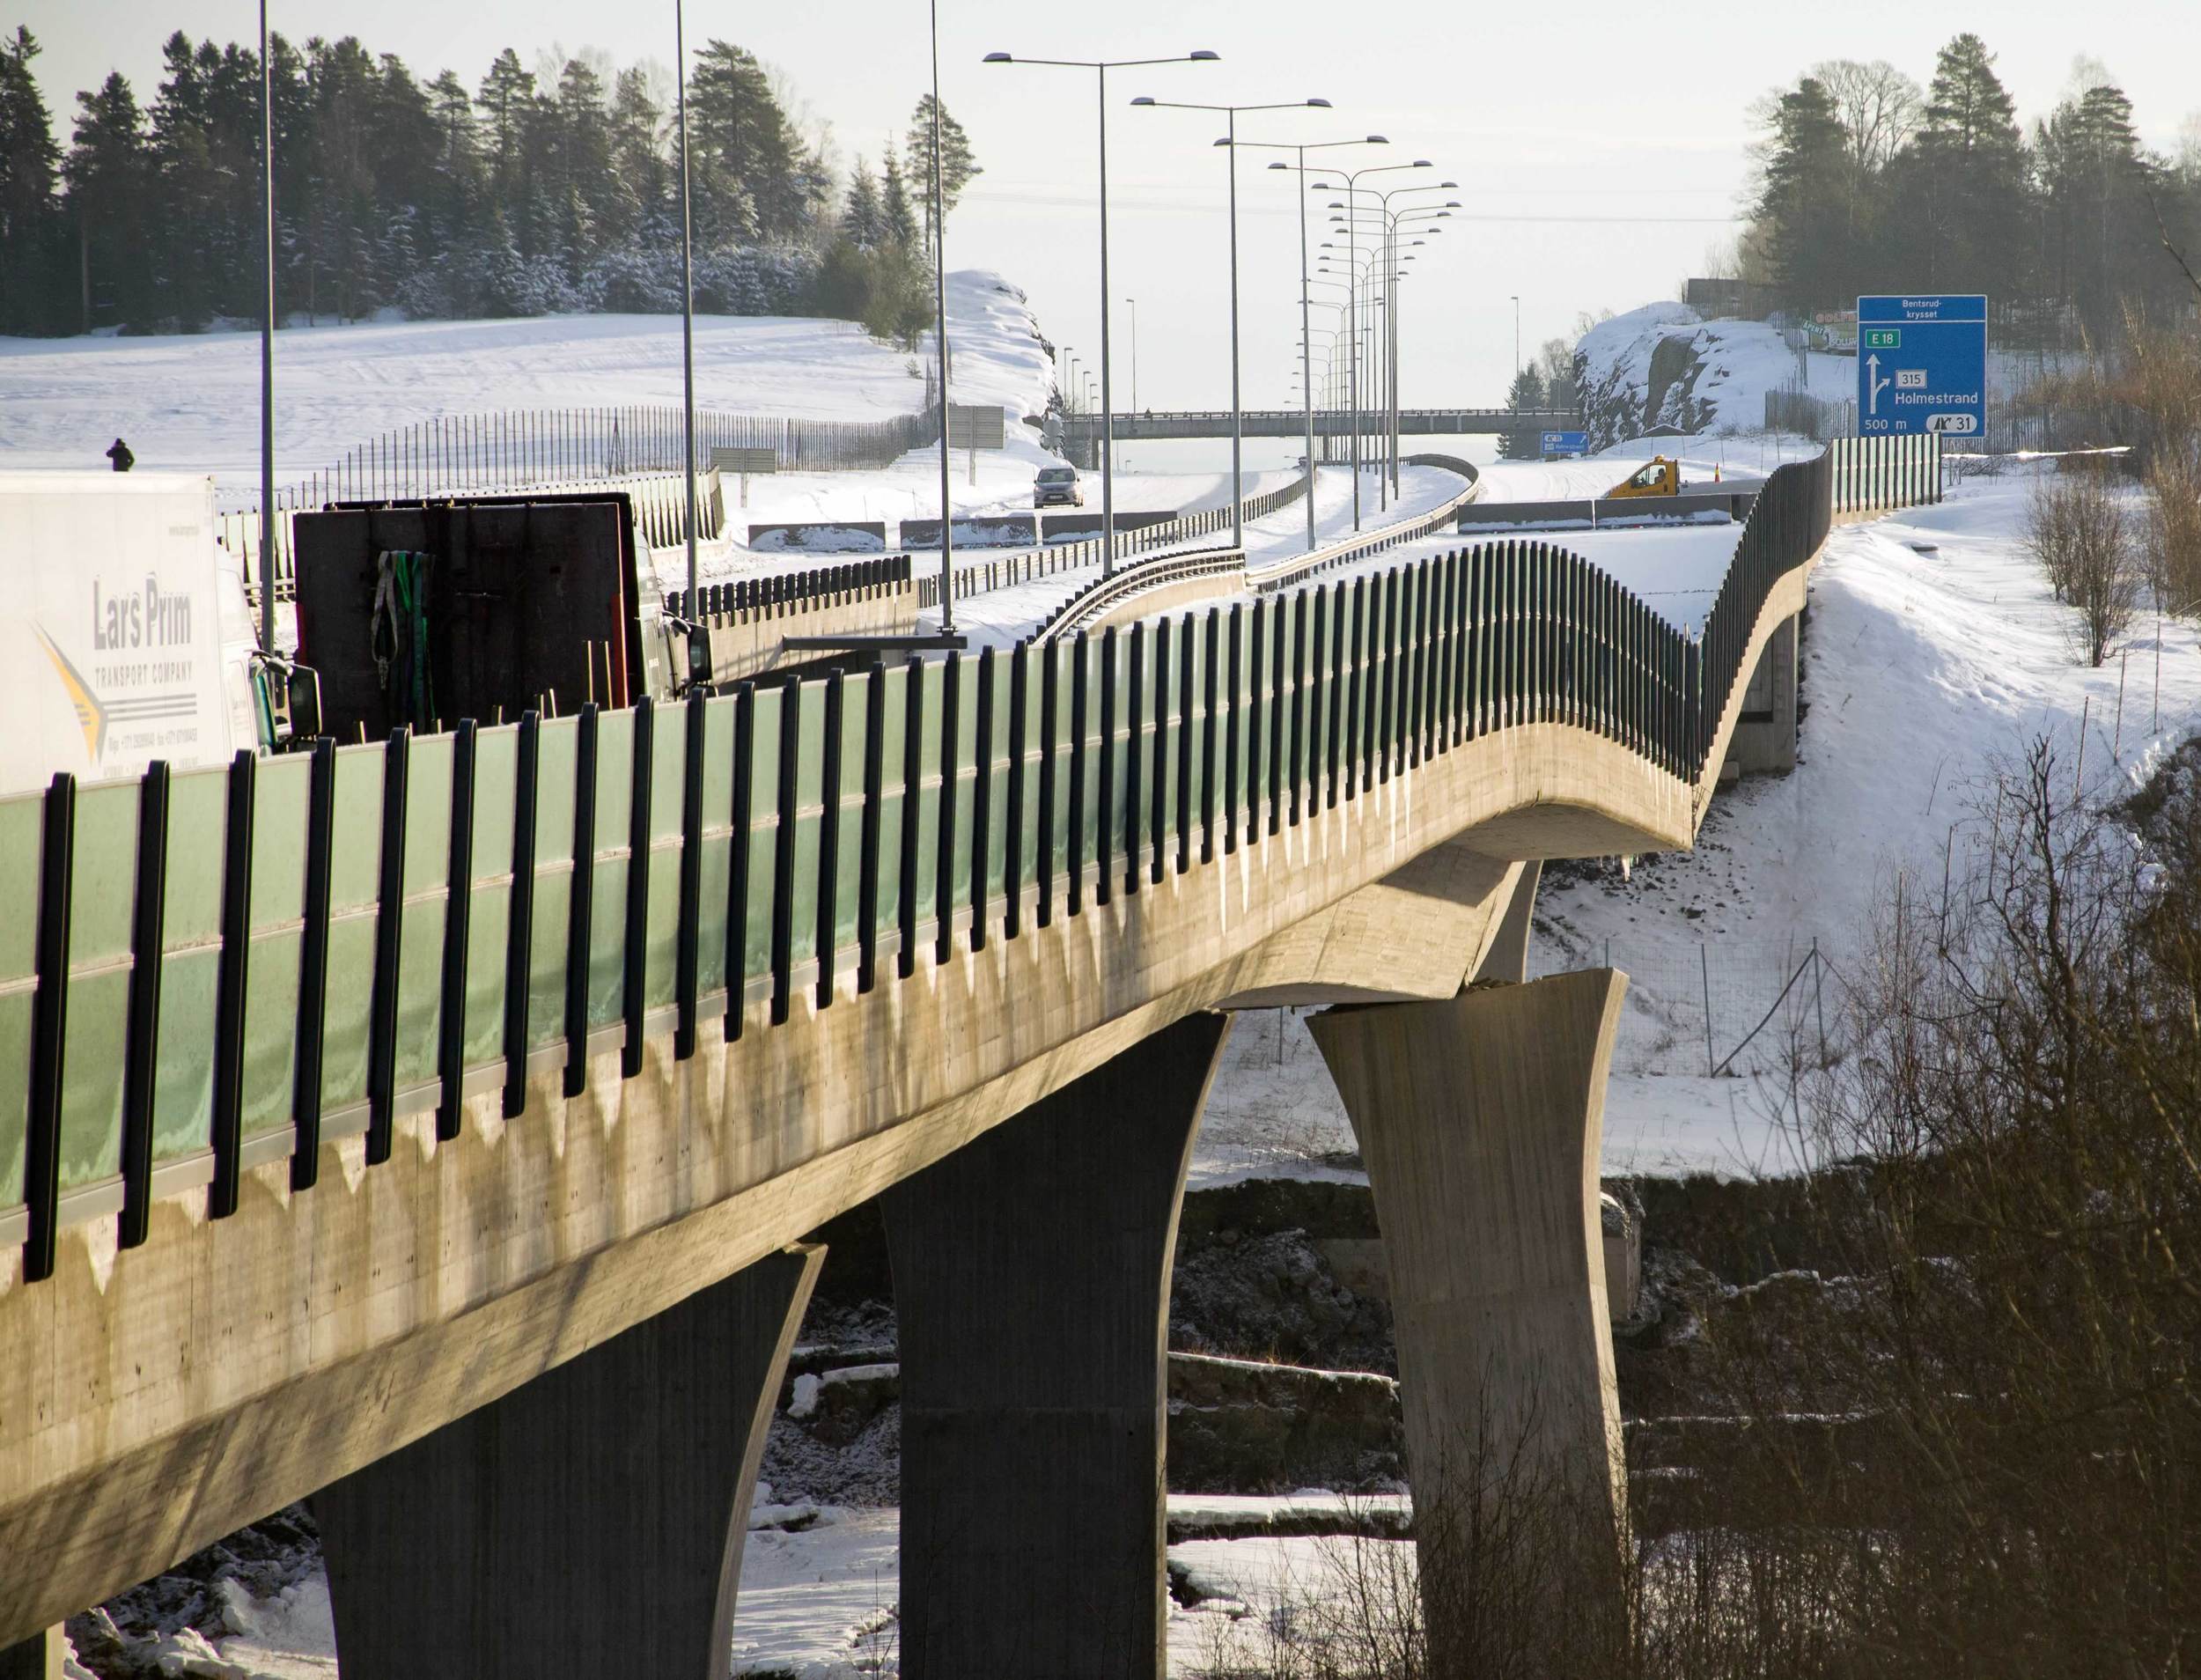
A Legacy Bridge, A Modern Challenge
The bridge had been there for decades, quietly doing its job. But it wasn’t built to today’s standards:

It was only 9 feet wide—3 feet too narrow to meet code.
It lacked any vehicular guardrails, compromising safety.
Its abutments? Constructed from railroad ties, a relic of the past and non-compliant with AASHTO standards.
There were no as-built drawings—no blueprint for action.
This bridge was a puzzle, and replacing it would have been an expensive mistake. But at Paragon, we don’t see problems. We see opportunities.
Our Solution: Smarter, Not Harder
Instead of tearing down the old to build something new, we asked a simple question: What if we could repair the bridge to make it compliant—faster and without triggering unnecessary permits?
Here’s what we did:
Reinforced the Foundations:
We used environmentally friendly helical piles to supplement the existing abutments. No concrete, no permits, no delays. Helical piles are strong, sustainable, and future-ready.
Widened the Bridge:
We added extension wings, expanding the width from 9 feet to 12 feet. It’s now compliant with modern vehicular standards.
Added Safety Features:
We installed durable guardrails for both vehicular and pedestrian traffic, giving the bridge the protection it needed.
Minimal Disruption:
We kept the bridge operational outside weekday work hours. The community had access, and we worked swiftly.
The Outcome: Results That Matter
In just two months, the bridge was transformed. It met HL-93 vehicular standards, passed the fire department’s inspection, and allowed the homeowner to move into their new home.
No bureaucratic delays. No overblown costs. Just results.


The Bigger Picture
This project is a testament to what can happen when you take a bold, entrepreneurial approach to problem-solving. America’s infrastructure challenges aren’t just about big budgets or government grants—they’re about applying ingenuity and efficiency to get results.
At Paragon Bridge Works, we believe that every obstacle is an opportunity. If you’re dealing with outdated infrastructure, don’t settle for the status quo. We’ve proven there’s a better way—one that saves time, money, and hassle while delivering solutions that last.
Ready to transform your bridge challenges? Reach out to Paragon Bridge Works today. Together, let’s build bridges to a brighter future.